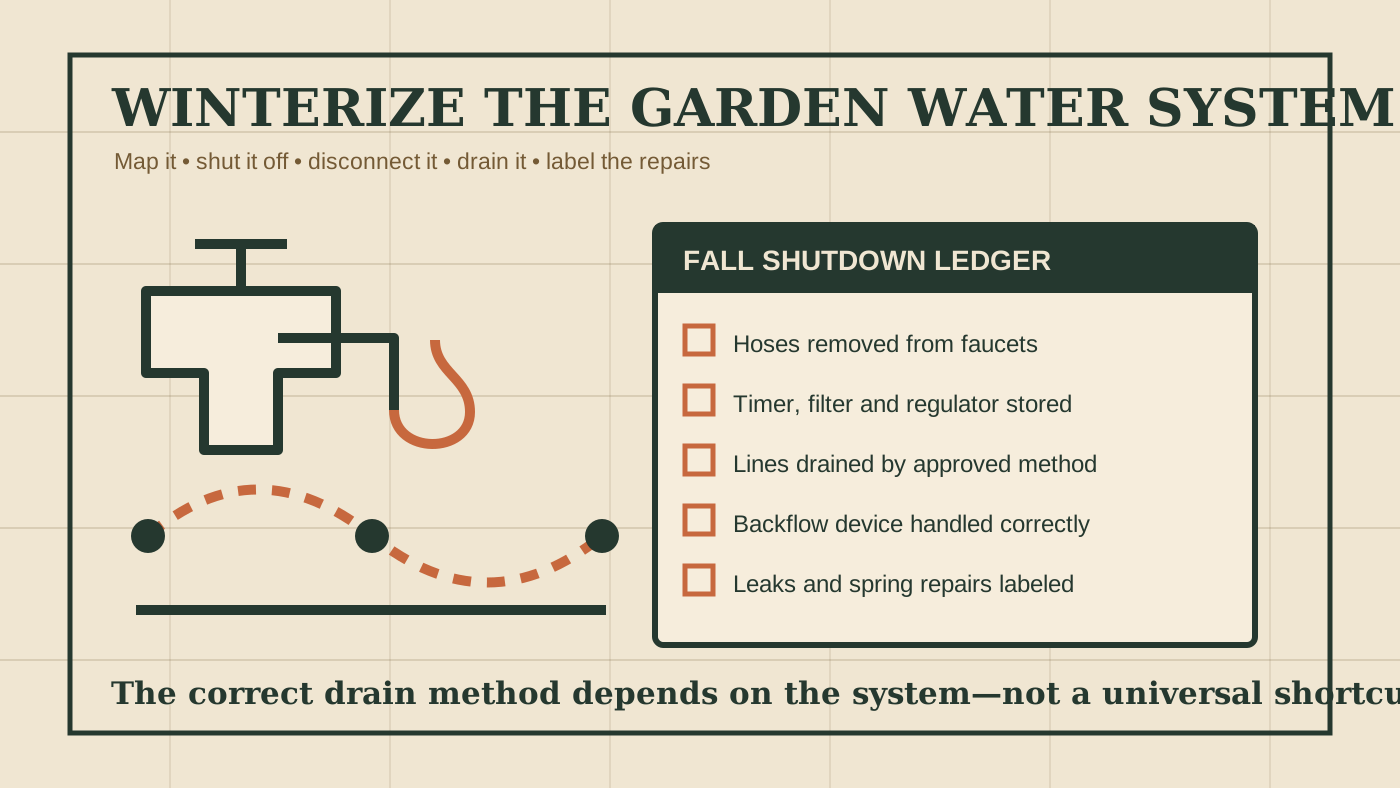
Freeze damage starts with trapped water
Water expands as it freezes. When it remains inside a hose-end timer, filter bowl, pressure regulator, valve, pump casing, backflow assembly or rigid fitting, that expansion can crack the part or distort a seal. The damage may stay hidden until spring pressure returns.
Utah State University Extension advises shutting off the main irrigation supply, turning the controller off, releasing pressure at the valves and draining components that can freeze. Colorado State University Extension describes the objective more directly: expel water from irrigation equipment before winter. The exact method depends on how the system was designed.
A good fall shutdown also records weaknesses discovered during the growing season. A leaking fitting, clogged emitter or sun-cracked tube is easier to identify now than after mulch, snow and spring growth hide the route.
Step 1: draw the water path
Sketch the system from its supply to its final outlet. Mark the interior shutoff if one exists, exterior faucets, backflow device, timer, filter, pressure regulator, mainline, branches, valves, emitters, drain points, rain barrels, pumps and any livestock or greenhouse connection. Note high and low points.
Keep the drawing with model numbers and manuals. Penn State Extension recommends mapping buried drip connections and drain endings so the tubing can be serviced without accidental digging. Add dimensions or landmarks that will still make sense after beds are bare.
| Component | Fall question | Record |
|---|---|---|
| Supply and shutoff | Which valve isolates only the outdoor system? | Location and normal winter position |
| Backflow device | What does its manual require? | Model, valve positions and service contact |
| Drip or sprinkler line | Manual drain, automatic drain or blowout? | Method, low points and pressure limit |
| Timer/filter/regulator | Can the head assembly be removed? | Storage bin and replacement needs |
| Rain barrel | Can it be emptied and disconnected? | Bypass or winter downspout route |
Step 2: finish the season with a running inspection
Before shutting the supply off, operate each zone while water pressure is available. Walk the route and flag leaks, damaged tubing, missing emitters, weak sprinkler patterns, clogged filters and valves that do not close. Photograph unclear fittings and label flags with a short repair note.
This final run separates an existing maintenance problem from winter damage. It also prevents a spring surprise: if a zone was already weak in October, reopening the system will not fix it. Store small replacement parts with the map, or add them to a clearly dated spring list.
Step 3: remove hose-end equipment
- Disconnect every hose from every faucet. Utah State's fall guidance specifically warns that hoses should be removed from water spouts to avoid freezing damage. Drain the hose fully before coiling it.
- Remove portable timers and the drip head assembly. Colorado State recommends detaching portable control valves, backflow devices, filters and pressure regulators from home drip systems and storing them indoors.
- Open and clean the filter. Rinse screens, inspect O-rings and let parts dry. Replace a cracked bowl or brittle seal rather than hiding it in storage.
- Drain watering tools. Empty nozzles, wands, splitters, quick-connect fittings and portable pumps. Store them where water cannot collect and refreeze.
- Label the bin. Include the bed or zone name, assembly order and any spring parts needed.
A frost-free faucet still needs the hose removed. An attached hose or closed nozzle can keep the faucet from draining as intended. Do not assume a handle position proves that the pipe behind the wall is empty.
Step 4: isolate and drain the installed system
Turn off the correct water supply and controller. Open valves as directed to release pressure. Use the system's intended method: a manual drain, an automatic-drain design, removal and gravity drainage of drip components, or a professional blowout.
Gravity or manual drain
Open specified low-point drains and zone valves. Give water time to leave. A line that sags below the drain may still hold water.
Removable drip system
Detach the head assembly, uncap the mainline and drain. Re-cap after drainage so debris and pests stay out.
Compressed-air blowout
Use only the documented connection, pressure and sequence. A qualified irrigation professional is safer when the design or limit is uncertain.
Utah State notes that some systems have drain valves while others require pressurized air and suggests using a certified irrigation professional when a blowout is needed. Colorado State's sprinkler guidance warns that system flow and safe operating pressure matter. More pressure is not a substitute for enough air volume, and air should never be routed through a backflow device unless the design specifically allows it.
Step 5: handle the backflow device by its own instructions
Backflow prevention protects the water supply from contamination. Do not remove, bypass or improvise around it. Identify the exact device and follow the manufacturer's winterization instructions and local plumbing requirements. Some assemblies require specific valve and test-cock positions; others are removed, insulated or professionally serviced.
If the irrigation system shares domestic water, Colorado State notes that a backflow prevention device is required. A missing manual, unidentified valve or history of freeze damage is a reason to call a licensed plumber or qualified irrigation professional.
Step 6: empty and bypass rain barrels
Penn State Extension recommends emptying and disconnecting rain barrels before the area's normal first hard freeze. Route the downspout through its winter path so roof water drains safely away from the foundation. Clean sediment and screens, leave taps open if the manufacturer directs, and store removable fittings dry.
Do not leave a full barrel to “make ice.” Freezing water can split the container, fittings or base, and a solid barrel cannot accept winter runoff. Reconnect only after the normal last hard-freeze period and after inspecting the barrel for cracks.
Step 7: store for a fast spring restart
Do not store a tight hose coil with water trapped in low loops. Avoid putting filters, batteries or electronic timers in an unheated damp shed unless the manufacturer permits it. Remove batteries when instructed and note their type on the spring list.
A practical buying brief for repairs and upgrades
Commerce listings often say “freeze resistant” without explaining the installation, drainage method or operating limit. Before selecting a replacement part, ask for:
- exact pipe, thread, tubing and emitter compatibility;
- working-pressure range and the regulator required;
- minimum operating and storage temperatures;
- whether the item must be removed, drained, insulated or blown out;
- approved outdoor, wet-location and potable-water use;
- backflow requirements and applicable certifications;
- replaceable seals, screens, valves and repair parts;
- the current installation and winterization manual.
Homesteading Supplier does not show prices, inventory or checkout because supplier authorization and current commercial terms have not been established. Use this specification to compare documented fit and maintenance.
Keep the fall water ledger connected
A garden shutdown is one part of the homestead's cold-weather water plan. If poultry equipment also faces freezing weather, use the winter poultry water-station audit to check drinking access, dry litter, safe power and an outage backup. Return to the seasonal planner to list the tools, parts and labor each system needs before the weather window closes.
Sources checked
- Utah State University Extension: Irrigation System Maintenance
- Utah State University Extension: November Yard and Garden Tips
- Colorado State University Extension: Drip Irrigation for Home Gardens
- Colorado State University Extension: Preparing Your Sprinkler System for Winter, reviewed August 2025.
- Penn State Extension: Irrigation Systems
- Penn State Extension: Rain Barrel Winter Maintenance
Research reviewed October 12, 2026. Follow current manufacturer instructions, local plumbing and backflow rules, and qualified professional guidance for your system.